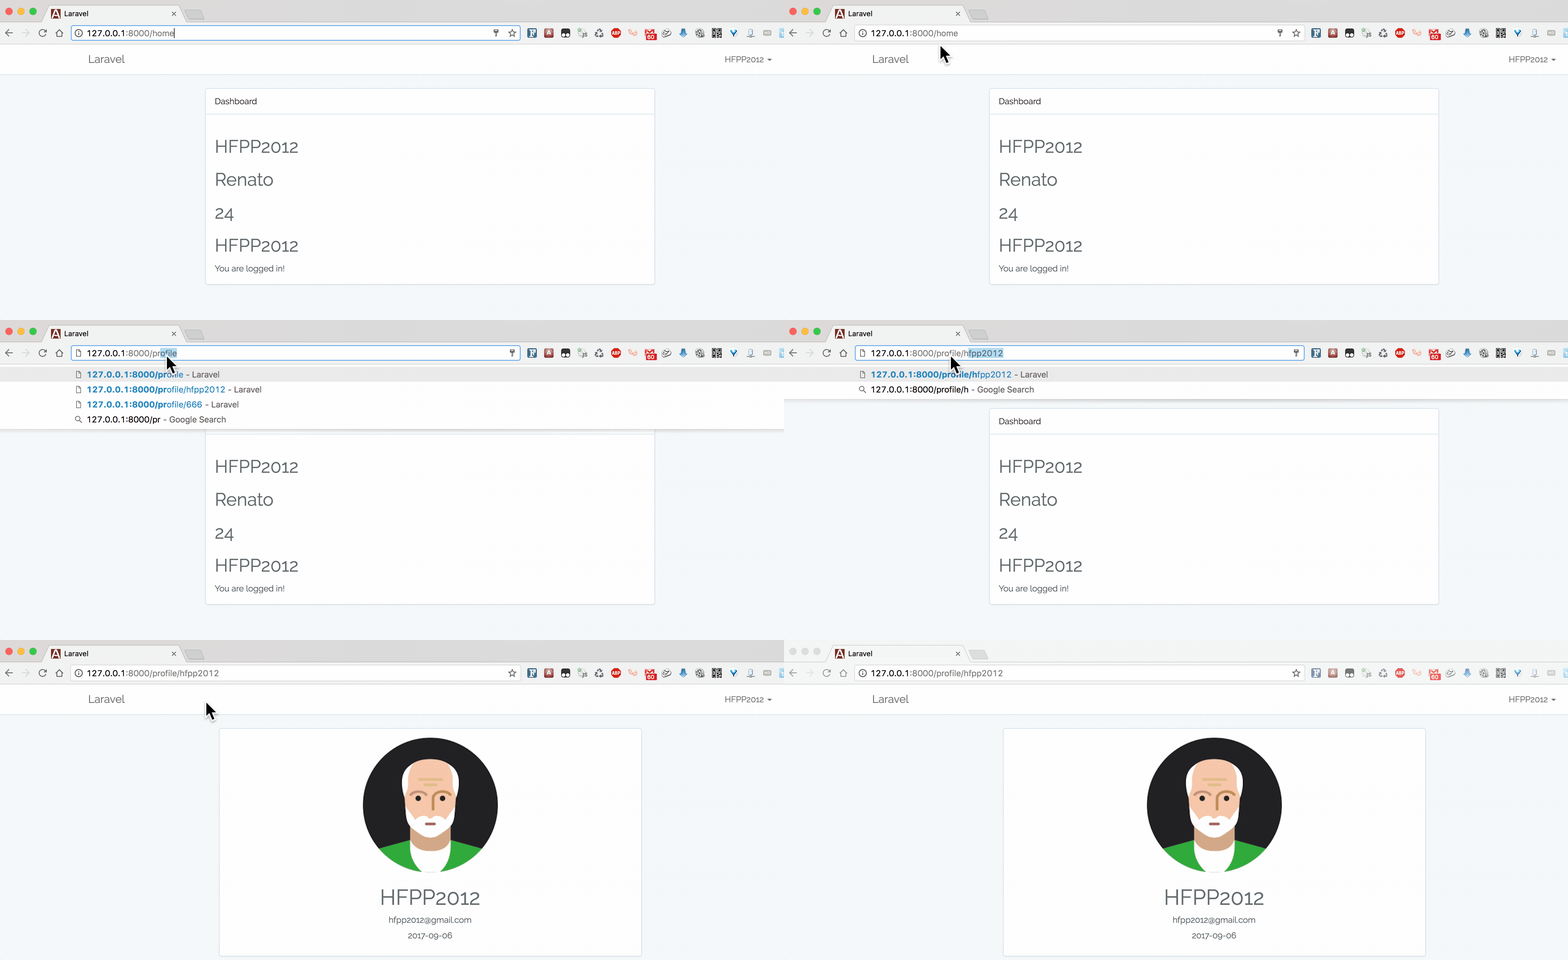
这一节我们来学习制作用户个人中心的页面。
以下所有的操作都会应用到之前所学的知识,我们一步步来。
1. 生成 controller
首先,生成显示个人页面的 controller。
$ php artisan make:controller ProfileController
把新生成的 controller 文件的内容修改一下:
// app/Http/Controllers/ProfileController.php

<?php

namespace App\Http\Controllers;

use Illuminate\Http\Request;
use App\User;

class ProfileController extends Controller
{
    public function profile($username)
    {
        $user = User::whereUsername($username)->first();
        return view('user.profile', compact('user'));
    }
}
2. 修改 route
第二步,打开路由文件 routes/web.php,添加下面这一行:
Route::get('/profile/{username}', 'ProfileController@profile');
这里的 username 是可变的,你可以用你的用户名来代替。
3. 修改 view
第三步,把 view 文件 resources/views/user/profile.blade.php 修改一下,如下所示:
<!-- resources/views/user/profile.blade.php -->
@extends('layouts.app')

@section('content')
<div class="row">
    <div class="col-md-6 col-md-offset-3">
        <div class="panel panel-default">
            <div class="panel-body text-center">
                <img src="https://encrypted-tbn0.gstatic.com/images?q=tbn:ANd9GcQe8W2ur7n_tTz1jE--CSLNEiDmN56hMyqIw-k-Z5Xt4AN34SZP" alt="">

                <h1>{{ $user->name }}</h1>
                <h5>{{ $user->email }}</h5>
                <h5>{{ $user->dob }}</h5>
            </div>
        </div>
    </div>
</div>
@endsection
4. 查看效果
最终的效果是下面这样的:
